 "VeeKaChu" (VeeKaChu)
05/24/2014 at 10:36 • Filed to: VK's Garage
 2
2
 0
0
 "VeeKaChu" (VeeKaChu)
05/24/2014 at 10:36 • Filed to: VK's Garage |  2 2
|  0 0 |
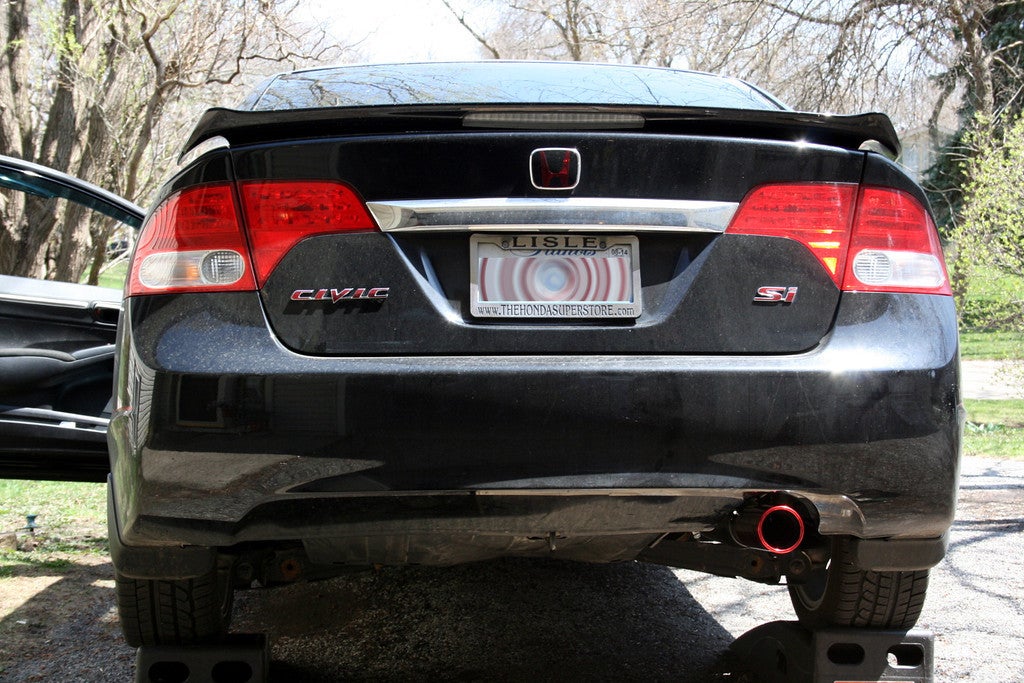
I was in my local Pep Boys a while back to pick up some necessaries, and as I'm wont to do, I took a squizz around the "Performance" section to see what radical new DIY-HP technology the "Spectre" brand was layin' down. As I was perusing the many replacement exhaust tips, I spotted a unique item- a matte black one with a red accent on it's outward-facing end. Now, my car is black, and I've tarted it up in a few spots with red accents, so this appealed to me somewhat...
I didn't buy it then, though, as I wanted to assess the situation, e.g., what would be involved in swapping that on. It took but a minute to realize it wouldn't be very straightforward; my car was purchased with an aftermarket catback exhaust already installed, and the muffler and tip were a solid unit.
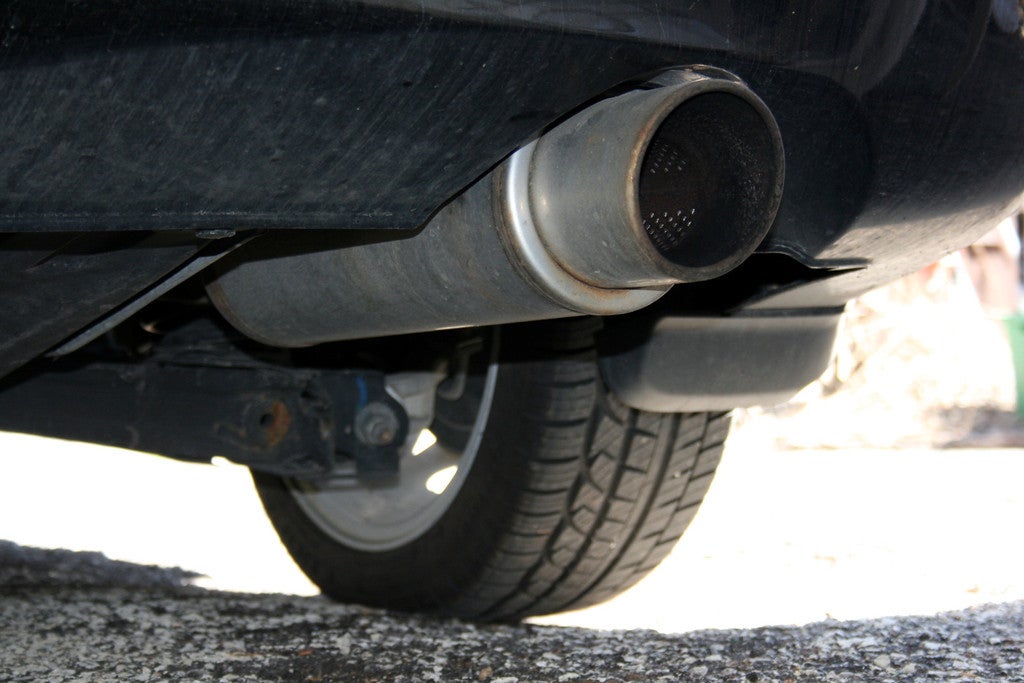
No problem, thought I, I'll just swap the muffler too! In situ exhaust modification-especially at the nether end- is a relatively easy thing in most cases, and here it looked to be a cakewalk... what could possibly go wrong?
Then I had a bit of a epiphany- I do powder coating at home, so why pay for a black and red tip, when I could customize one myself? Start here-
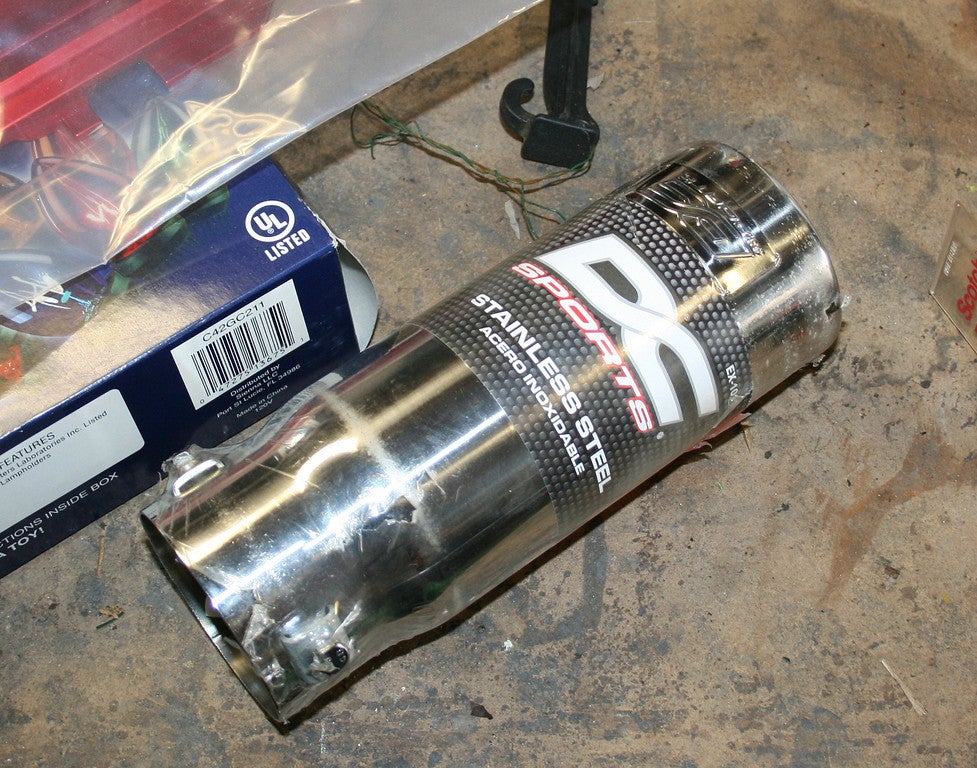
(before I go any further, I'd just like to point out a major flaw with this product- it claims to fit on exhausts up to 2.5 inches OD. This is a flat lie. The included bolts are too short to reach past the standoffs when this is on a 2.5 in pipe. Sure, longer bolts are easily swapped in, but that's not the point... also, if the application allows observers to see that far along the tip, these bolts and standoffs just end up looking like shit.)
One nice thing about powder coating this myself is I can get a "red chrome" finish that will better match my existing accents, that the retail product lacked (its red was just a gloss paint.) For the muffler swap, I cast about the local parts stores initially for a suitable "Cherry Bomb" (it's already red, and one noisy bullet muffler's as good as the next, *and* I'm old and not averse to putting vintage 'Murrican "hot rod" tech on my Honda- there's a Hurst shift knob in the works as I write this!), but finding none in stock, I ordered a suitable- I thought- Dynomax bullet.
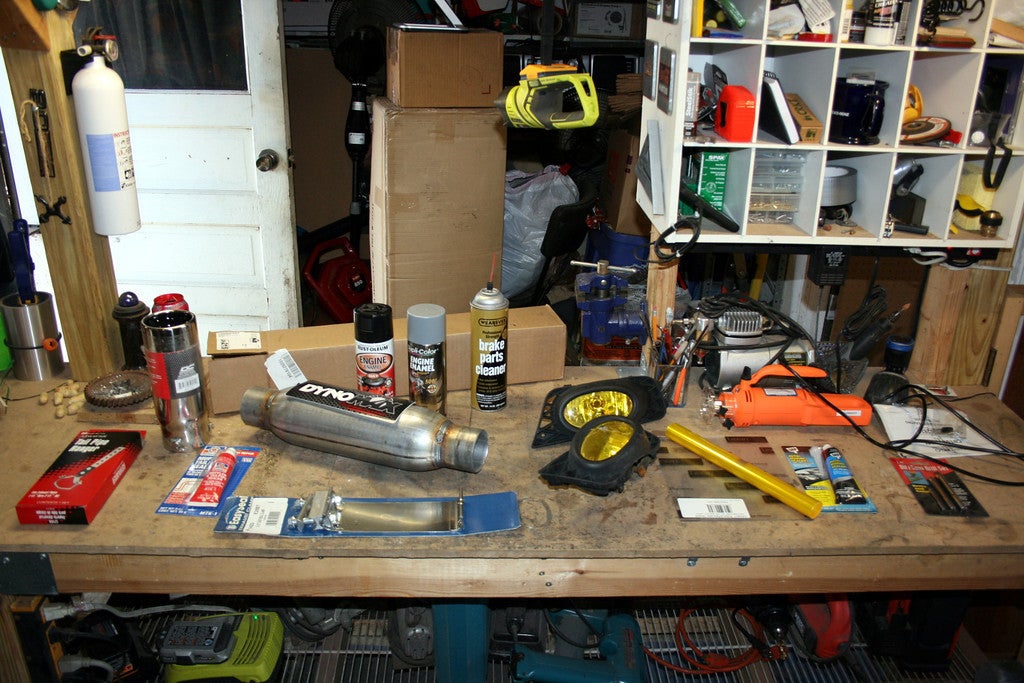
There's nothing more exciting than the anticipation generated by getting all the bits and bobs of a project together; ideally, everything will fall neatly into place, guided by the nebulous but perfect blueprints on the drafting table of the mind, which one has been toiling on during every non-essential daydream...
In this case, I'm starting two things, the other being a busted foglight lens repair. The OEMs are glass, but effing Honda thinks I'm willing to shell out nearly two hundred A SIDE for replacement units, and that's just not happening. Yes, EBAY is an option, but I'd still rather do it myself... I can learn things, like, did you know you can cut Lexan with frigging tin snips? I sure didn't... Can you see what I did there? I spent 20-odd dollars on a cutout tool I absolutely didn't need. There's an upside though; now I own a cutout tool!
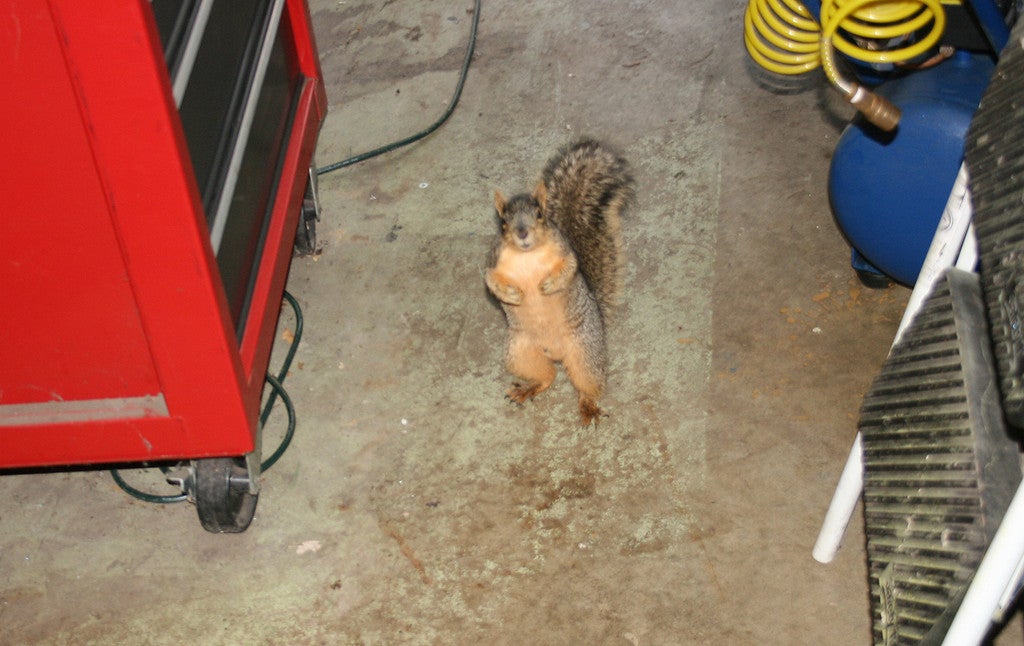
So it's a sunny, warm (finally) day, my ducks are all in a row, I've got peanuts for the squirrels...
As I said above, this should be a pretty straightforward job; finish the tip, cut off old muffler, clamp on new muffler, attach new tip, drive car. So let's see what can go wrong...
Since the new muffler is going into a place where no one should ever see it, it doesn't need any surface modification, it's good to go right out of the box. Therefore, I must paint it.
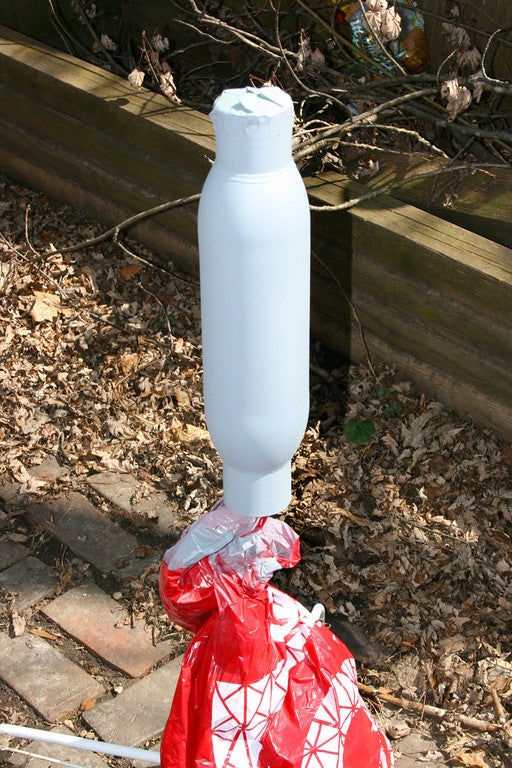
I must paint it, not because I need to, but because I can. I like to finish things (and by 'finish' I mean "enhance a thing's outward appearance", not 'finish' as in "complete every damned project I start", becuase I'm an un-holy procrastinator at heart), and I actually got into powder coating when I bought a used header- another component that's actually LESS possible to see than the muffler- and couldn't bear to install it without prettifying it.
So here's an "actual" tip- any piece of 'bare' automotive metal that you buy "should" be coated with a protective layer to inhibit rust. If you're going to paint them, clean them vigorously with a strong solvent. I favor brake parts cleaner. Here I'm using a high temp engine paint primer that claims to have ceramic elements. Sounds special.
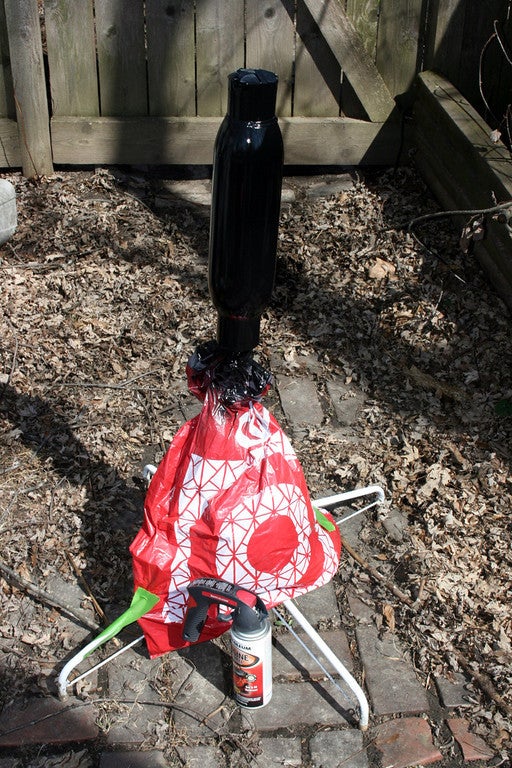
Another reason I started powder coating is that while I like to 'finish' things, I'm absolutely shite with a rattle-can. I'm the drip-master. Luckily, RustOleum makes a neat little "spray gun" attachment- shown here- that can make any shadetree painter feel like that K.C. kid from Gas Monkey Garage (or Dick from Wheeler Dealers, if you're more into that!)
A couple of coats of black, and that bad boy's ready for the roadshow!
So, onto the fun part, powder coating. I've already painted the inside of the tip with the same gloss black paint, and in the pic below I've masked that and made it ready to hang for the coating.
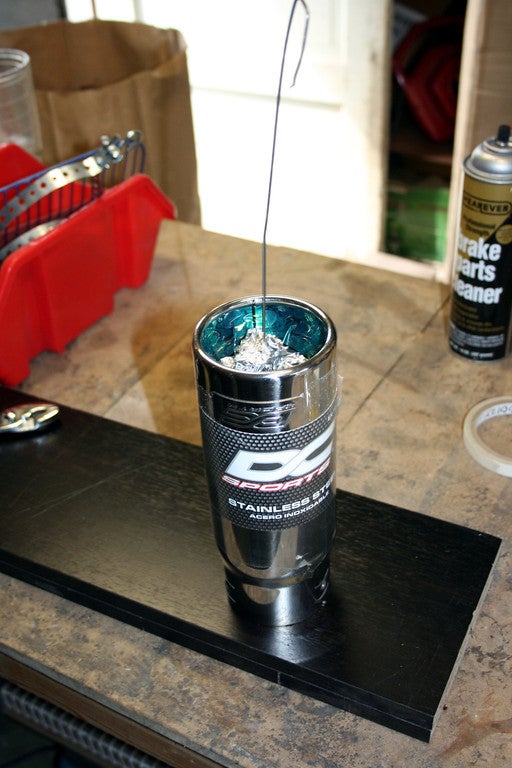
I've stuffed the gullet with aluminum foil, to prevent coating the insides. In the follow-on pic we can see it hanging (along with the metal handle of a 10$ Harbor Freight "survival" knife, just because).
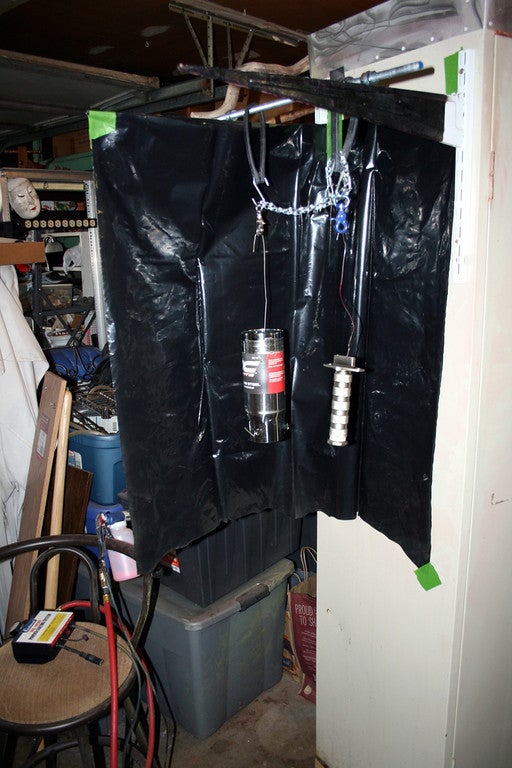
As in most similar tasks, the majority of the labor is in preparation; it only takes a minute or two to actually spray the powder. Consideration must be given to how a thing will be hung up and racked, we need a good conductive "metal-on-metal" arrangement, and the parts need to swivel in order to get full coverage, and then it needs to be easily movable into the curing oven (the cabinet they are hanging on, even now reaching a toasty 400 degrees).
The plastic is hung to keep the powder from going too far afield, but there's a consolation in that the overspray vacuums up really neatly; it's just teeny-tiny plastic spheres, after all. Still, it tends to go everywhere... also, as we do not want anything airborne getting onto our stuff, so breezes of any sort are not an option.
(And since Kinja sucks at formatting around vertical pics, I'm going to ramble here to keep the text aligned with the photos... sorry, it feeds into my own neatness fetish. If anyone knows a solution for that, please share....)
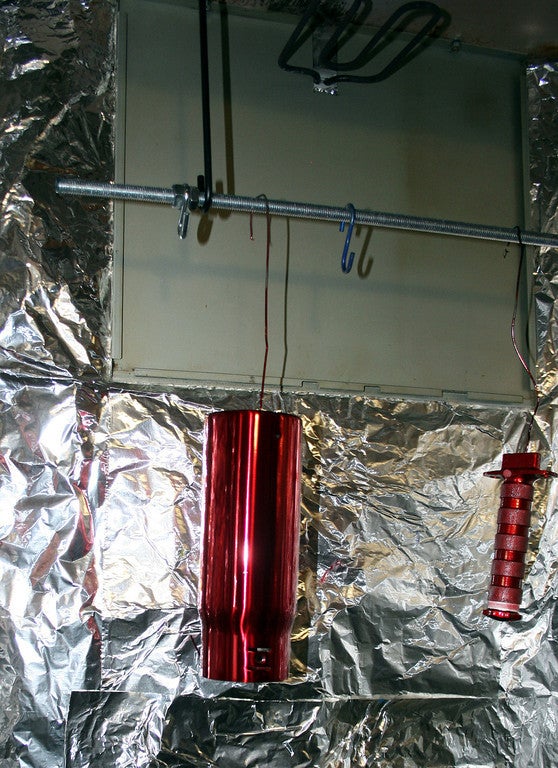
The following pic shows my favorite part- opening the oven after the curing. I love the "chrome-like" effect these transparent powders give to polished metal. I am naturally tempted to leave it at this and put it on all red. But no- it's an 'accent', so onto the next step, masking the tip of the tip and painting the tip body black.
(More formatting rambling- we can see that the powder did a less than stellar job on the 'knurling' of the knife handle, but for what it is- a chinese POC- it'll do... )
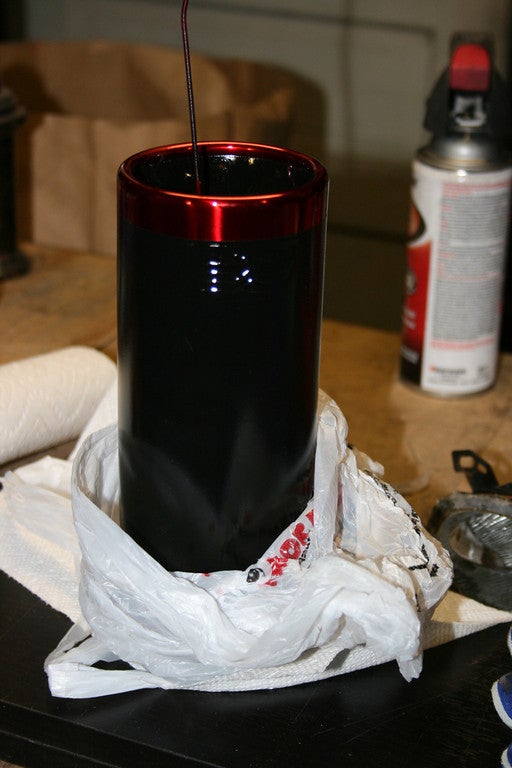
I was most trepidatious about getting this mask just right, but needn't have been; I used the orange Rustoleum masking tape seen above, did this by eye, and got the sharp separation I was looking for.
I could have done the black in powder instead of paint, but as you can powder OVER paint- a process I've not tried yet, but am planning to use on some wheels I'm working on- I needed to try this.
Next up- a coat of clear powder. nice thing about this, it's pretty easy to ensure good coverage, as seen in the next pic...
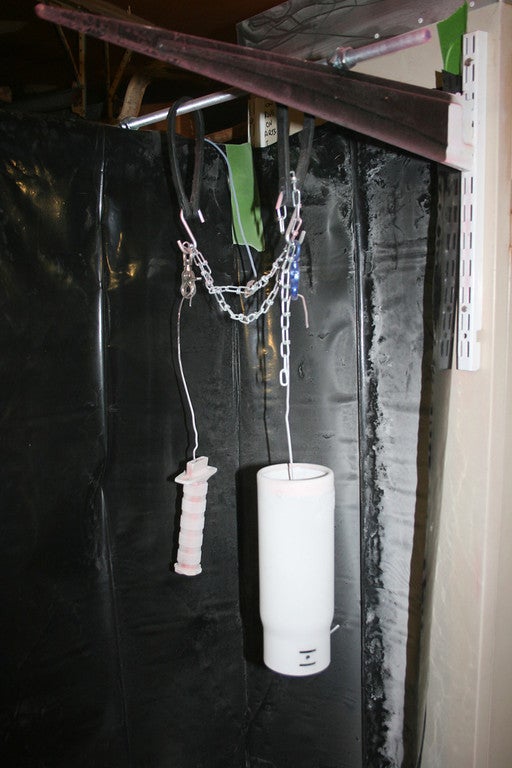
It's a shot of the parts with the clear powder applied. You can see the electrical lead coming over the plastic material, clamping onto the middle of the chain...
.
.
.
.
.
.
.
.
.
.
.
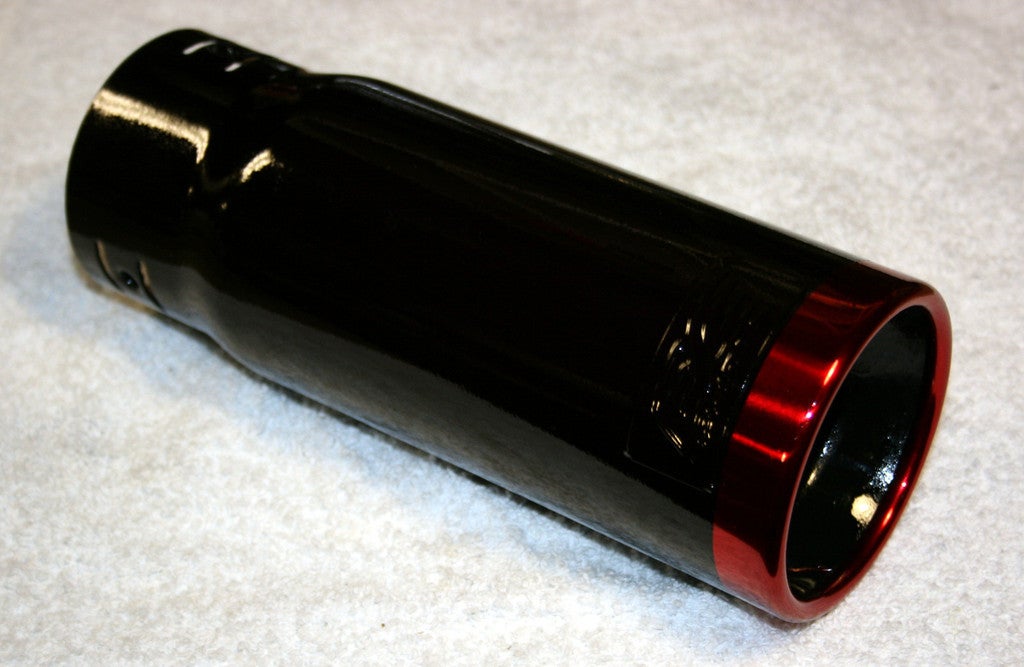
Finally, a glamour shot of the finished product. I really don't know how this will hold up under daily driving, but it's all a learning process... so onto the next part, installation (and why it ended up taking a week...)
We all know the old saying, "measure twice, cut once". That's nice in theory, but when one already "knows better", one can be let in for all manner of casual fuck-ups. In this case, I was *certain* that my existing exhaust was 2.5 inches OD (I even put a caliper on it- albeit an old antique caliper that my "ancient-tool-collecting" father left behind for me), so that's what size muffler I bought. Then I cut...
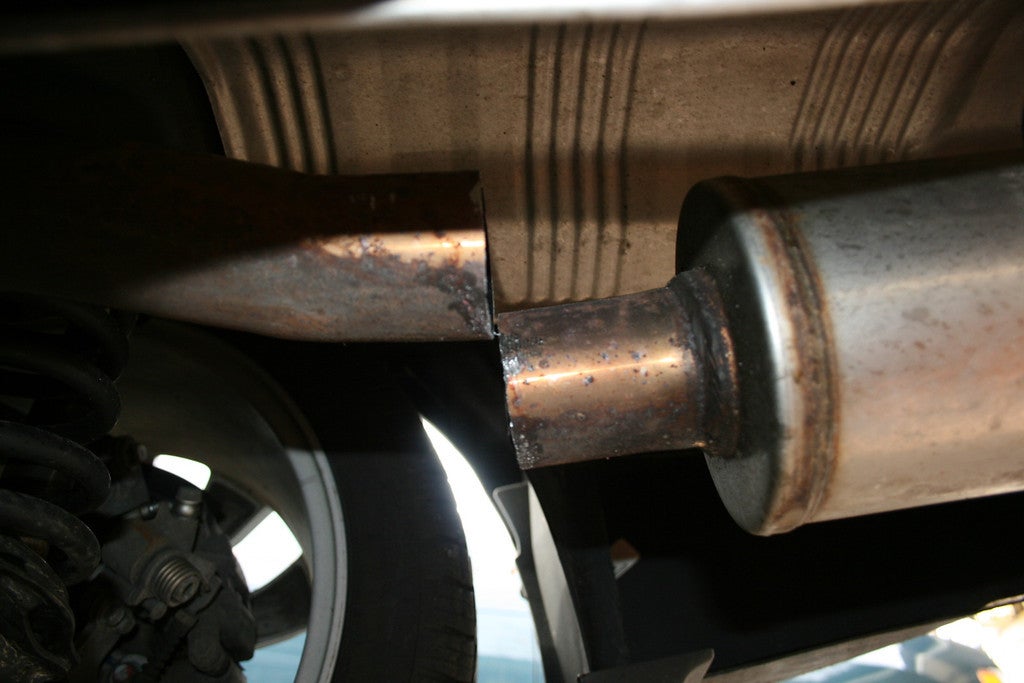
I used a reciprocating saw, and while I got a pretty neat slice I did come within millmeters of smashing the ever-living fuck out of my hand the one time the saw bound up. Pro tip- do not use the reciprocating saw in a fully vertical-to-the-ground manner when there's only an inch or two between the end of the saw you're holding and the cold hard Earth. When it binds, it transforms from a utilitarian friend into a bone-crushing hammer of doom. I was lucky, and learned another thing!
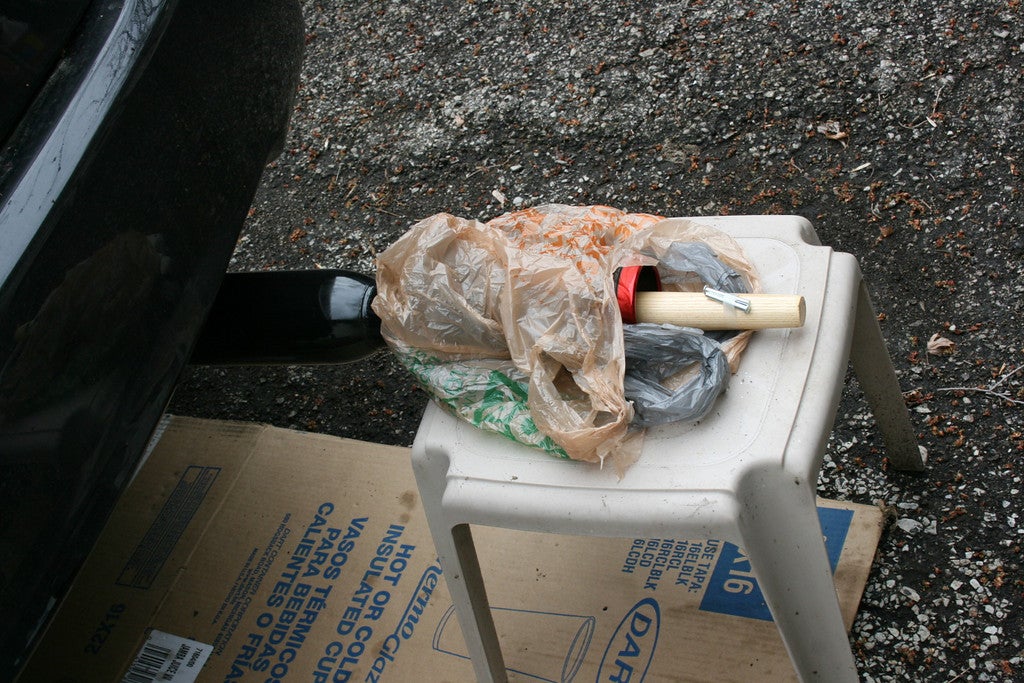
Utilizing an as-yet un-installed shovel handle I had lying around, i was able to easily mock-up to prepare for hanging the muffler, though I was about to learn a sad fact- what I thought was a 2.5 inch exhaust was really a 2.25 in exhaust... Go me!
Not to worry, though, it's only metal. Metal cuts and bends, and I'll bet you if I could put some slots in the end of that muffler I can transform it into something that approximates a "custom" fit (or I could strip the paint off it and send it back... nah.)
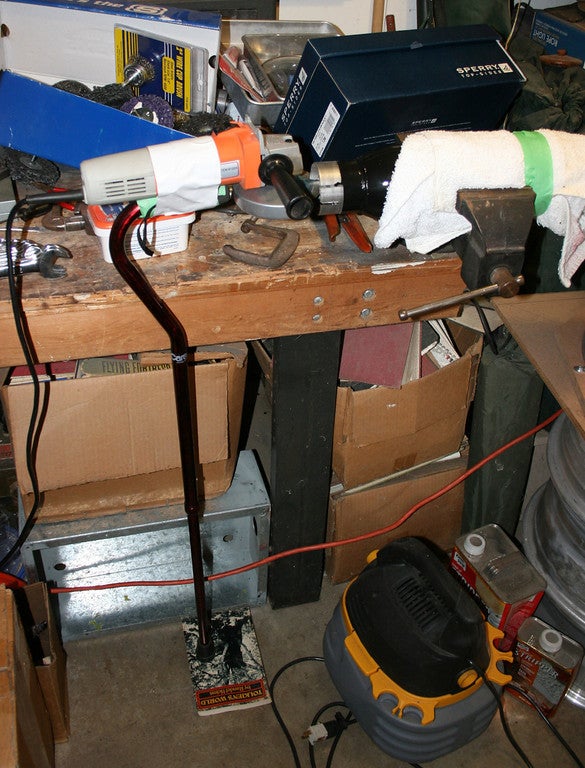
Using the late MiL's cane, I made a grinder jig- to facilitate somewhat straight slots- threw the muffler in a vise, and went to town. Since there's about two inches of pipe from the existing system going into the inward end of the muffler, this should be a viable solution (I convinced myself...)
I know what you're thinking, this is getting into "duct-tape-and-baling-wire territory, but I promise I'll make good.
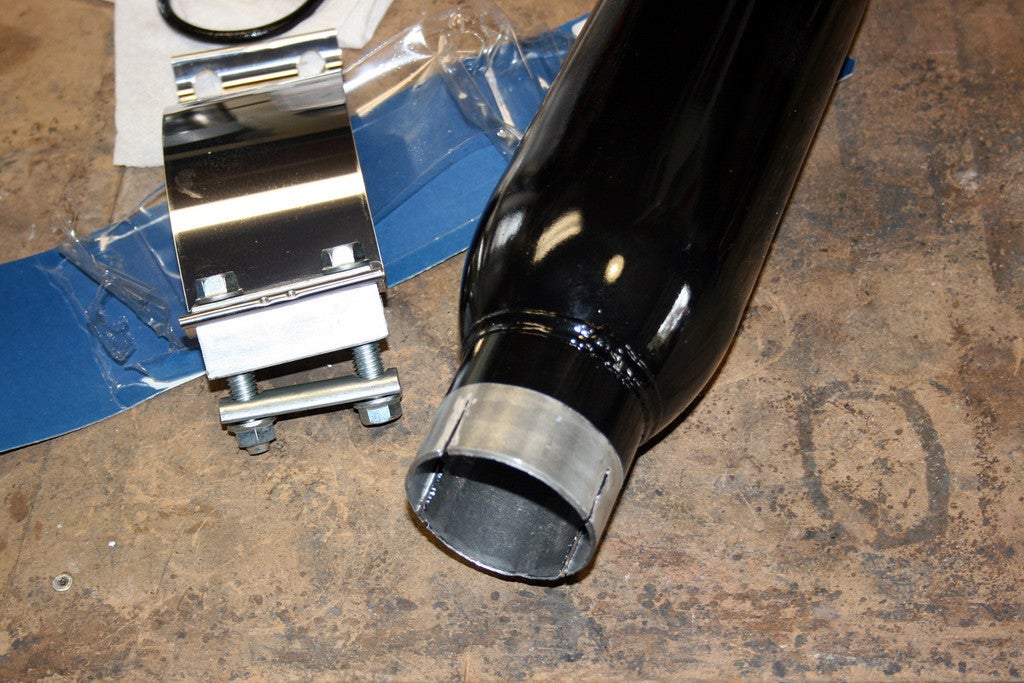
These initial slots aren't quite to spec yet, but I wanted to get back to my earlier point about project "planning"... see that nice band clamp, for a 2.5 inch exhaust? Totally worthless now. More $$$ wasted, hooray! It does look good in my parts drawer though.
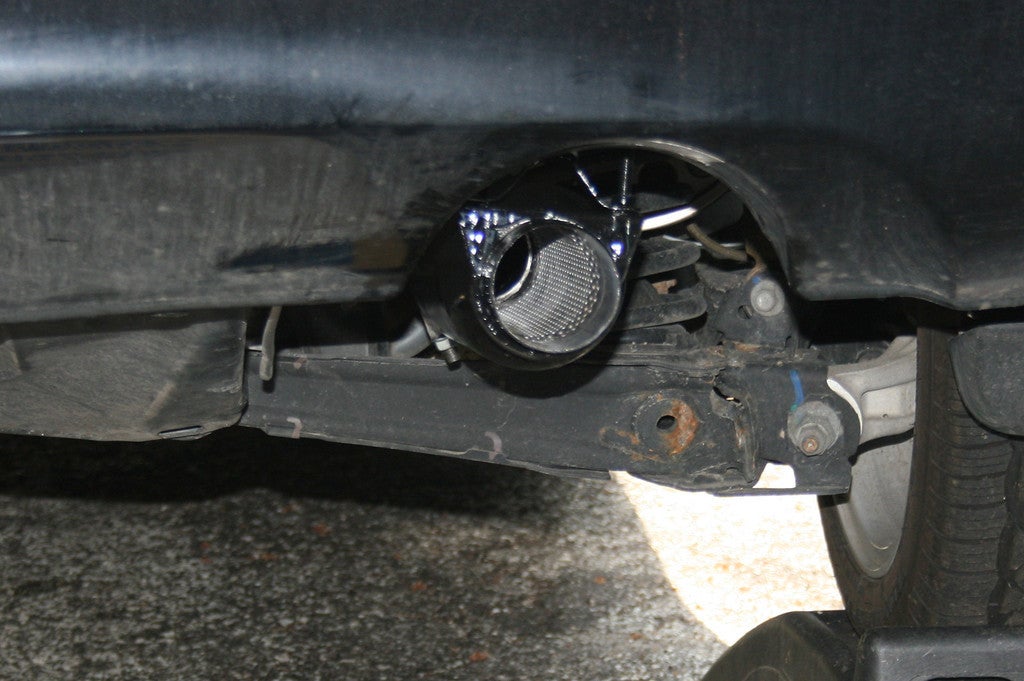
I had to fabricate a hanger, using the off-the-shelf hanger pictured above, some other clamp and u-bolt parts. Useless detail pic above. The front end is clamped as well, but the odd match necessitated combining the "U" of a 2.25 inch clamp with the collar of a 2.5 inch clamp.
I know what all the mechanics (from shade-tree to pro) are thinking; that will leak, and no amount of muffler past and metal tape will prevent that. I KNOW, dammit, I know... but I hang it anyway.
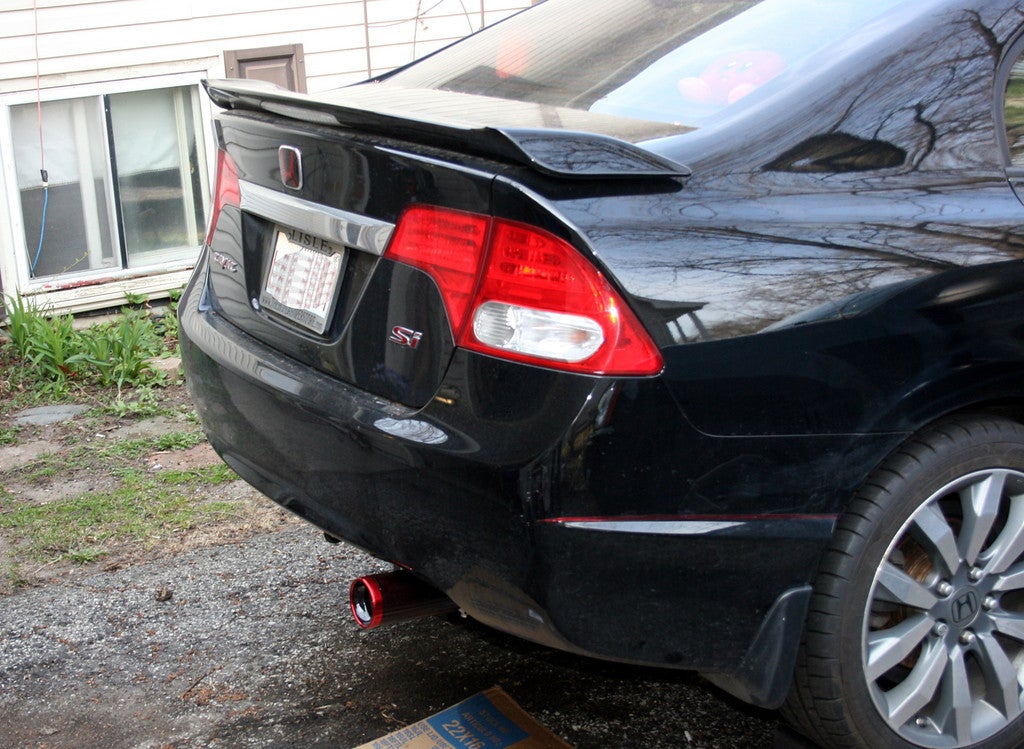
And UGH.
Even though it doesn't extend beyond the end of the bumper, it does stick out way too far. it looks like a god damned James Bond-ian mortar barrel. Furthermore, as I noted above, the bolts and standoffs extend way to far out, and they're very visible from the rear view, and look janky.
That was the middle of the second day, and though my wife has told me to just leave it like that, I've determined to cut it down again, to look less shouty. Unfortunately, that very morning my wife became ill (un-related to the mess above), we went to the ER, and I ended up working from home the entire following week. The car sat up on ramps the whole time, un-started, and un-touched. Life does that shit.
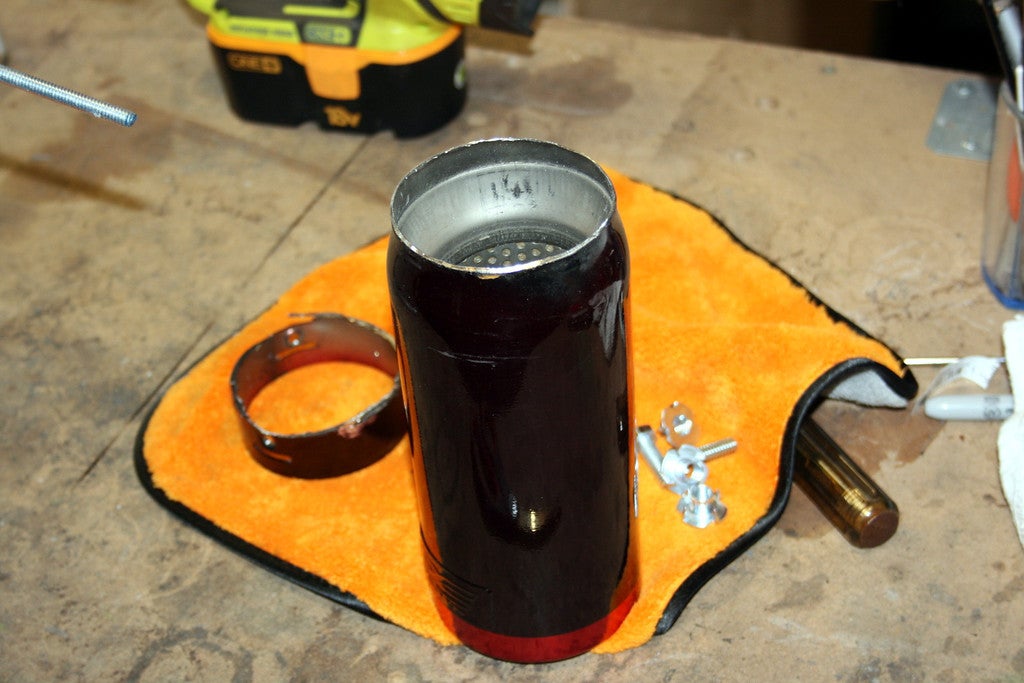
The following weekend, I took the grinder-cane to the tip itself. Not the straightest of cuts, but leaving enough of the leading edge of the pipe to drill through, for nore set screws. Ah yes, drilling metal... nothing to it! Exdept that it's really hard...
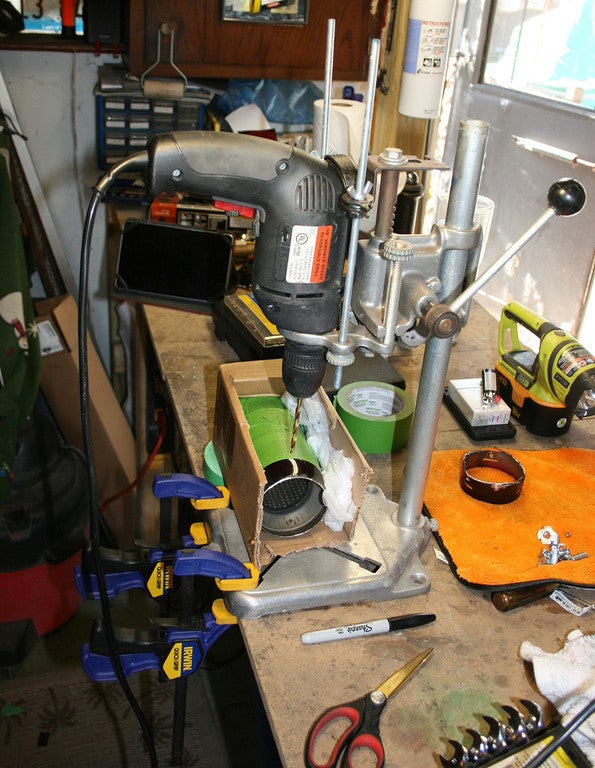
Sure, I've drilled through metal lots of times, but never metal this hard. I couldn't even get started...
Luckily, my son had taken metal shop in HS, so he had a few tips of his own to impart. Firstly, he said, we needed a punch to make a starting 'hole' (more of a dimple really, but you get the gist).
Still, even with his help, it took over an hour for the two of us to get three holes in this bee-yotch! I did eventually discover that using non-dull bits does help in this regard, but I didn't find those until we were well into the process. Still learning stuff, though!
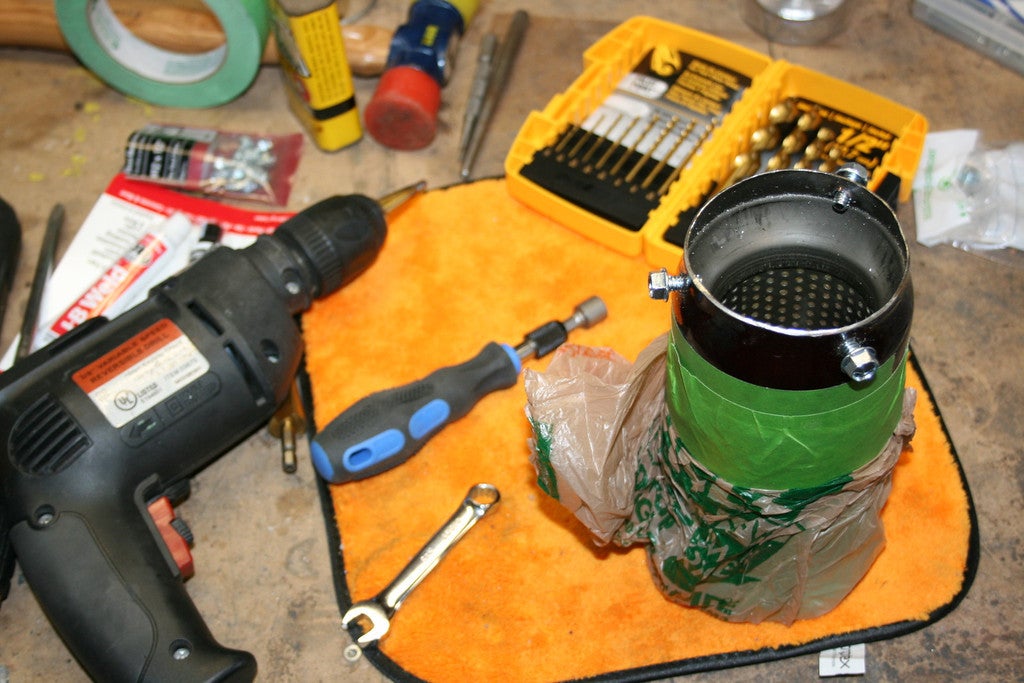
We tried to thread these holes using an allegedly "carbon steel" tap-and-die set from Harbor Freight, but after mashing the threads on the relevant die, my son insisted "carbon steel doesn't do that", so there's another spurious product claim... I eventually found some "self-tapping" sheet metal screws at a local Ace Hardware (bless them and their extensive selection of 'fasteners and hardware', blows everyone else local away) that seemed like they would do the trick, but in fact one of those three holes is too big and the screw spins freely.
No matter though, two of them would form a nearly perfect bond, pulling the third surface hard against the pipe (I once again told myself.) And it seemed like it would be OK, except that when I went to do the final install- eight days after starting this project, the muffler- clamped though it was- eventually freely rotated in my hand as I was tightening said screws.
I TOLD you this wouldn't work! I tightened the clamp again, though, did actually drive it to work once, and then did the only thing there was left to properly finish the job...
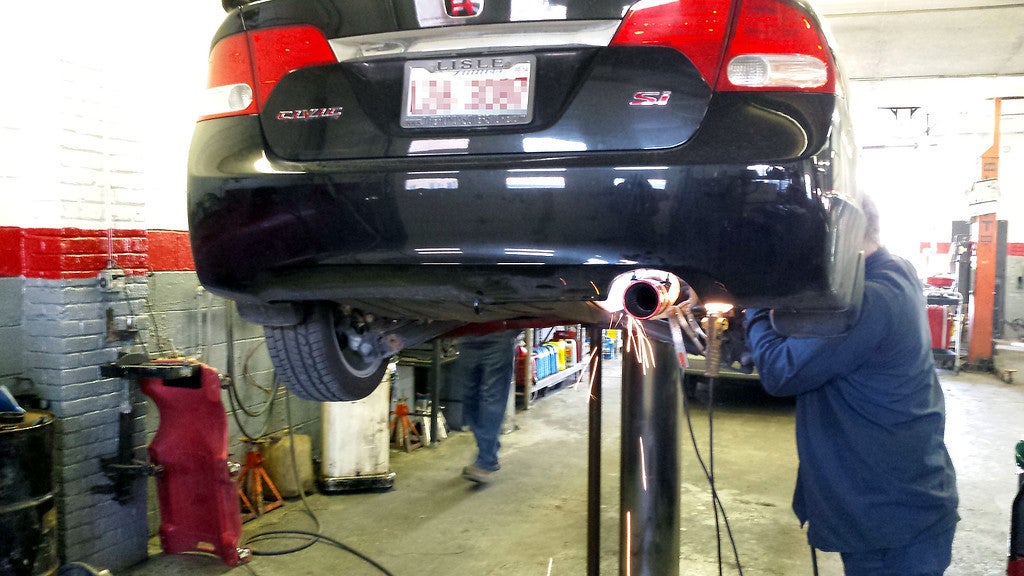
More love for local businesses; the young gentleman who bought the original muffler from me had it welded on the next day at a tiny little shop I'd never heard of, but very near to home. Thirty bucks, in and out in under an hour, and he tacked the tip ont the muffler as well ("They like to steal these..." he informed me, when I asked him to do that.)
So, et voila!
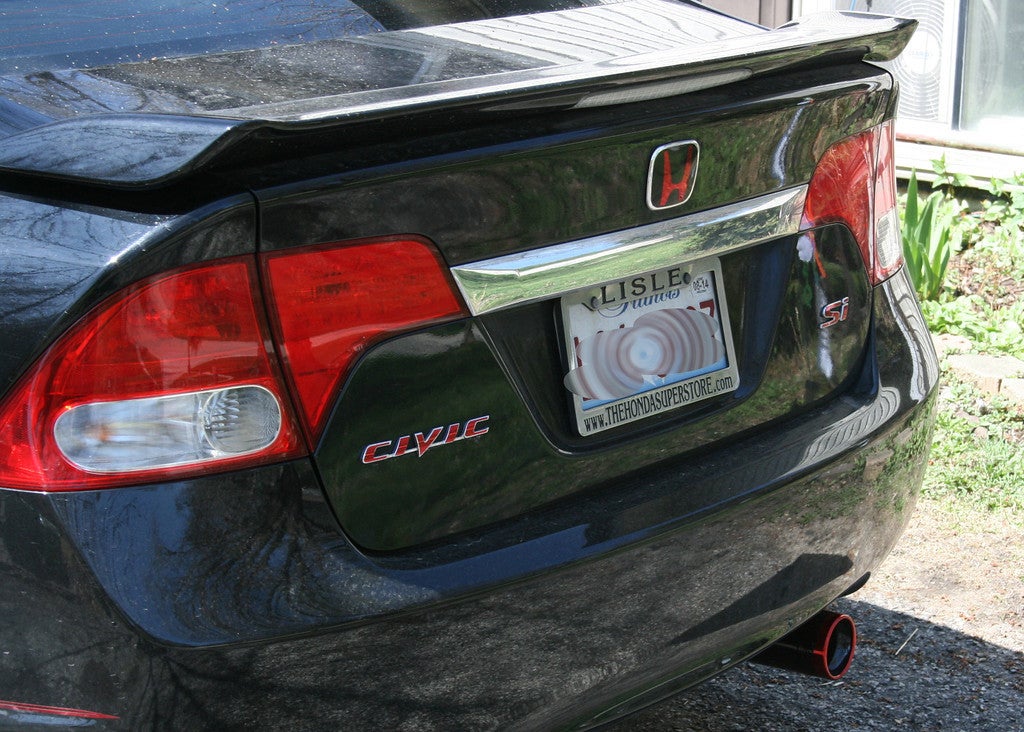
Job done. thanks for reading!
